CarPC – Corsa D – Part 2: Interfacing radio buttons

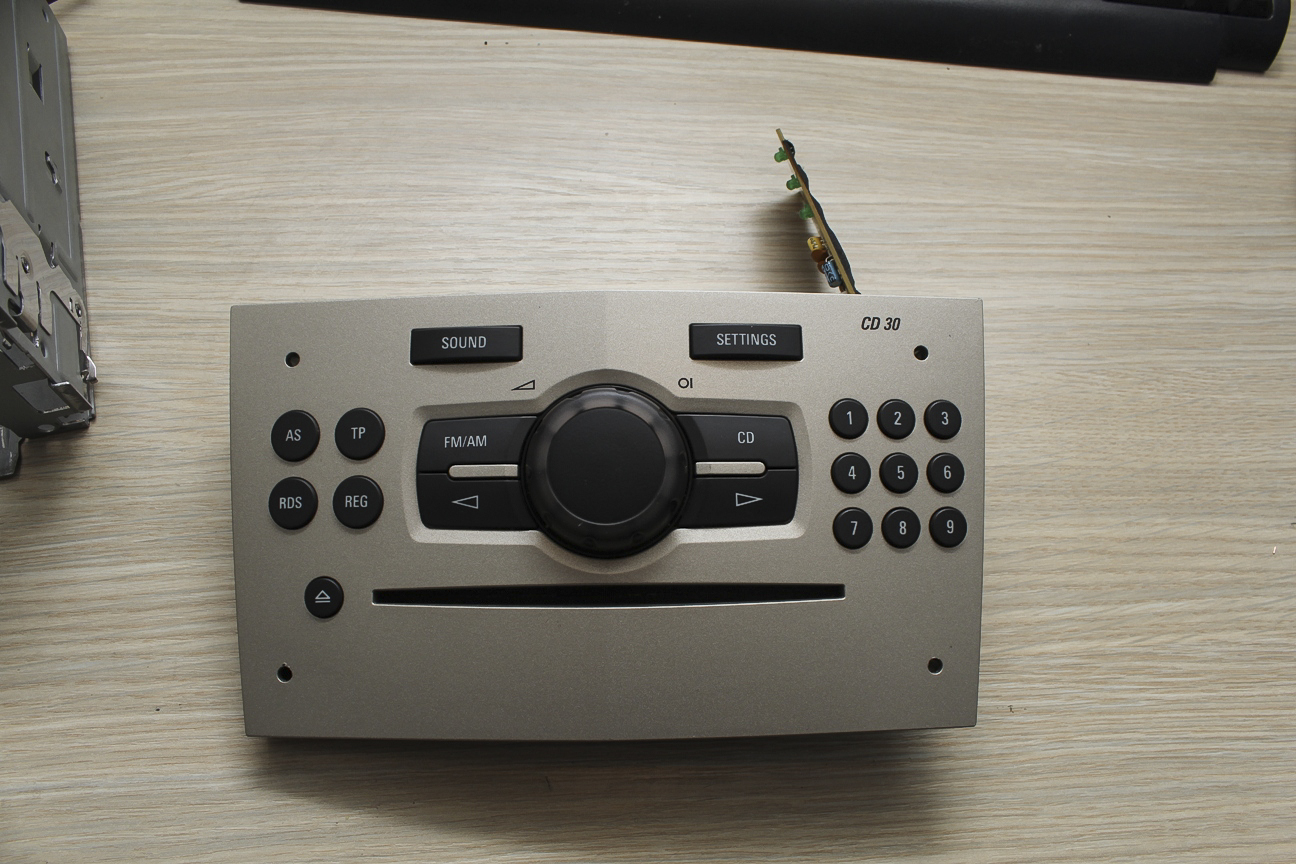
One main thing I wanted was buttons from the factory radio to work with Kodi (XBMC). I will also have steering wheel controls, but working radio buttons is damn cool!

Corsa D Radio Buttons

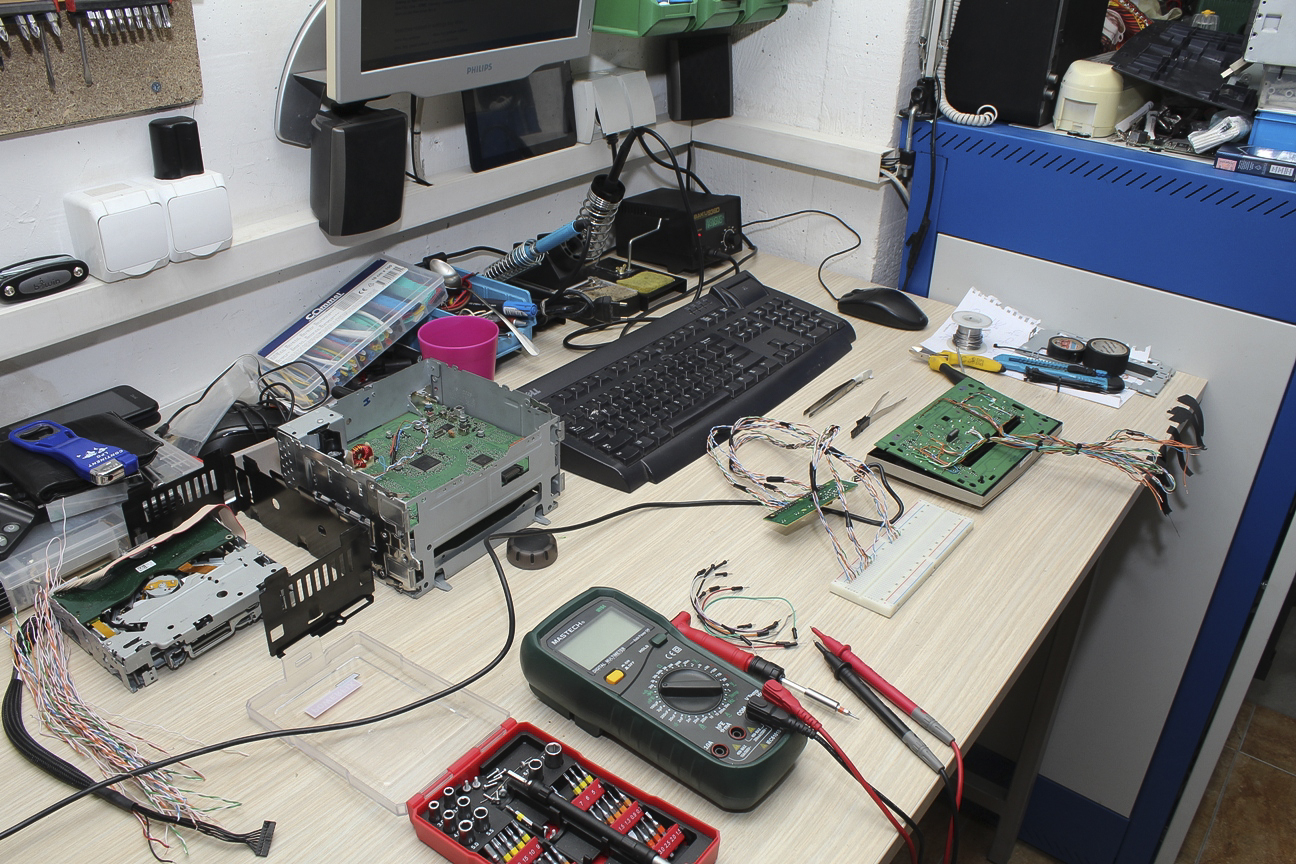
I had some ideas in my head. I started with what I had – Raspberry Pi. It has GPIO pins. You can use them to interface buttons with your software, like Kodi. And that was one approach. One other idea that clicked in my head was – keyboard controller. It has 100+ key commands you can use, it’s dead simple to interface with Raspberry Pi – via USB, it’s also very easy to set them to work with XBMC, just edit the keymaps. Also, the best thing – GPIO pins will remain free for other modules.

I started with finding compatible keyboard with your Raspberry Pi (most work, but be sure to check). I have disassemble it, and checked where each key on the keyboard goes in which pin – this is best done with continuity tester. I had this option on my multimeter. You can also do it with tracing the etched conductive tracks, but it’s harder. I had 2 separate connectors on my USB keyboard controller, lets call it A and B. A has 20 and B has 8 pins. Combination of some A and B pin gives number/letter or special character. For example – A1 pin and B4 pin gives letter A. I think this is keyboard model specific so you better check each key one by one.

zPjzJTx

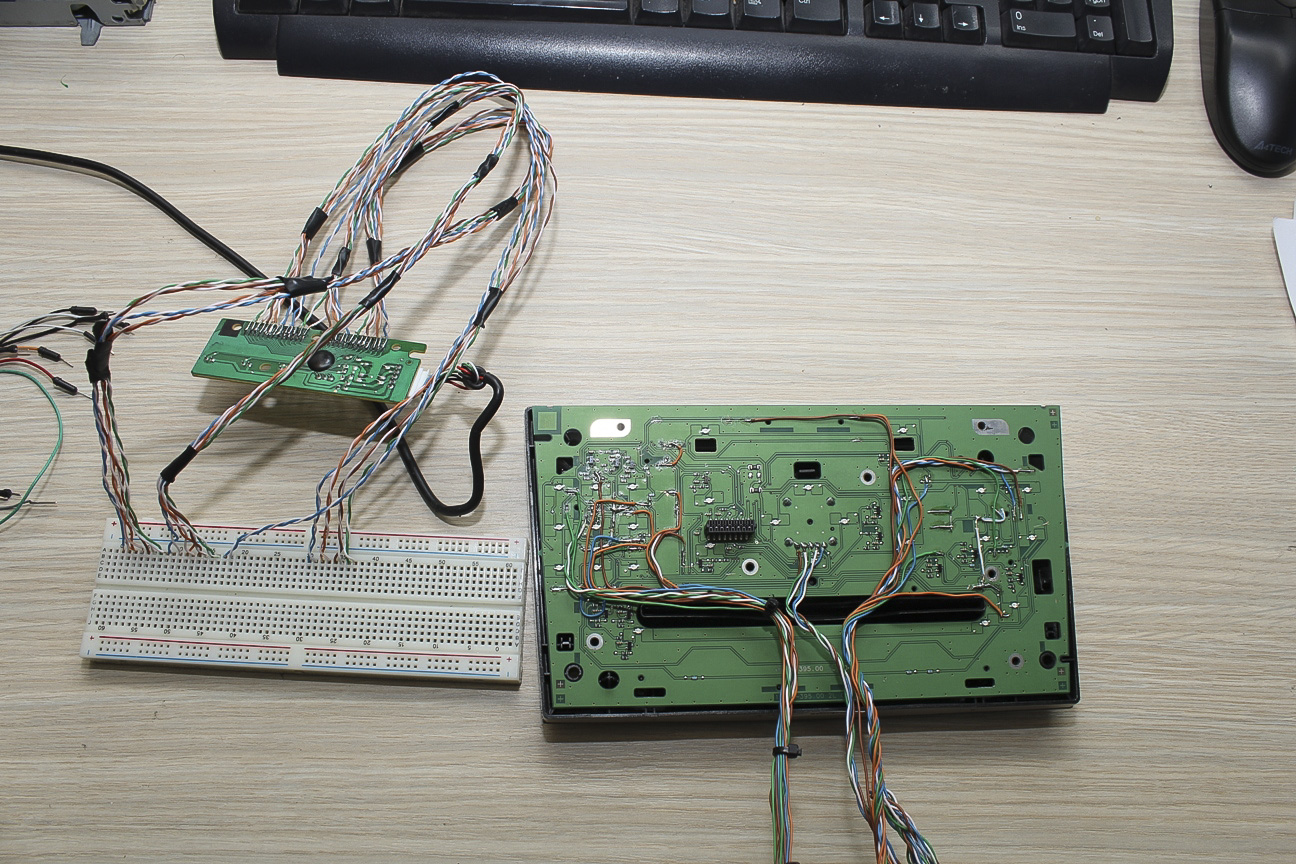
Then, I rewired all 20 buttons on my factory radio. I first started on having independent wires on each button, but then I realized I can use one common wire for 9 buttons, that means 3 common wires for entire board.  That also means reducing the number of wires.

I got my breadboard with all connections from the USB controller lined up. I used it for testing each button separately to check it if it works directly in Raspberry Pi.

yejDO2A

I made my final connections, soldered them and put several layers of heatshrink, just to be sure. Those 5 wires still sticking out are from the rotary encoder. They will remain like that for now, because I still have to find a way to connect it to the Raspberry Pi to act as a volume control.

KhlYjOO

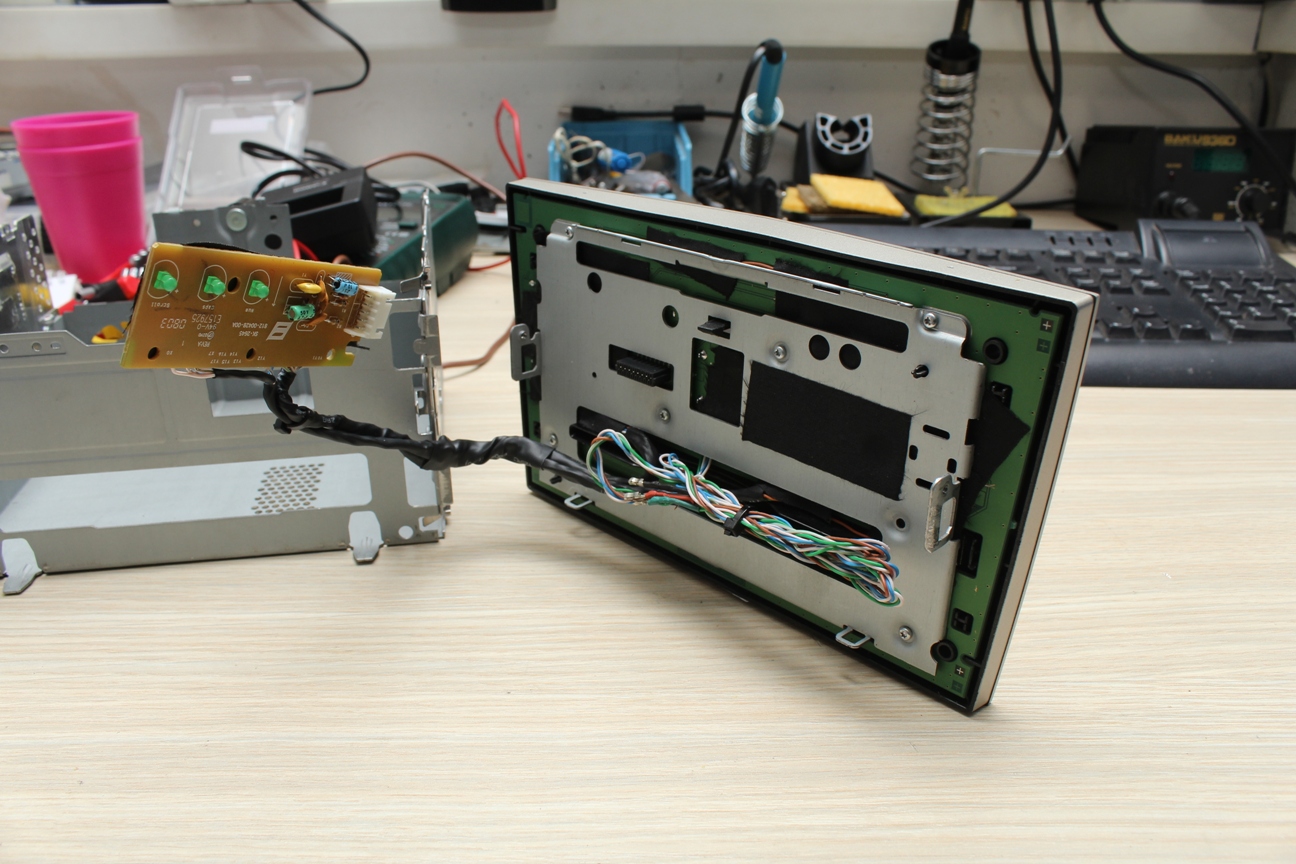
Here is the USB keyboard controller placed in the radio enclosure, taking minimal space. I removed the CD circuitry as I won’t use it from now on since I’m installing CarPC, and also I needed space for Raspberry Pi and it’s modules.  And this is the perfect space.

OGGEeaW

I programmed the keys in Kodi with it’s official Programs add-on Keyboard Editor. They work flawlessly. I’m very happy with the results.


8 thoughts on “CarPC – Corsa D – Part 2: Interfacing radio buttons

  1. Andrei

    WOW! I was looking for that. But I have no idea how to work with breadboard and where should I start. My idea is to pull out all of the contents of my 1din car stereo out, replace them with RPi and power it with my 1TB 2,5” HDD. The only thing is, that I don’t want to use touchscreen as a main control and be able to use rotary knob to control the volume, use open/close screen panel button, play, pause etc. Could you please advise how could I do it? You example showed that it can be done, but how? Would you be able to explain me in details? That would be much appreciated.

    Reply
    1. Dimitar Post author

      Hello Andrei! If you plan on using Kodi as a media player on your Raspberry Pi this is the easiest and the best method. You will need a USB keyboard and remove its controller.
      You don’t have to use a breadboard, but using one is easier to track the different combinations to send keystrokes to the RPi.
      You can see on the pictures that I used one common wire for more buttons plus one wire per button. That way you can save on wires haha :).
      There is an addon for Kodi/XBMC called Keymap Editor where you can map the keys for each action. For example key ‘a’ to be Next, key ‘s’ Previous, key ‘d’ Play/Pause, key ‘f’ Mute and so on.
      For finding out the keystroke combinations I just plugged the USB keyboard controller on PC and opened Notepad.
      I haven’t figured out a way to connect the rotary encoder fitted on my stereo, but it should be simple with standard rotary knobs available for RPi or Arduino.

      Reply
  2. FB

    Do you still have your radio function working (with KODI ofc)? Using your car antena? Or you will lose every radio function and just stay with kodi and with music from usb device?

    I want do a project like yours to my Astra H CD30 so im trying to solve my doubts

    Reply
    1. Dimitar Post author

      No, I don’t have the radio function available after I interfaced the buttons. There may be a way to keep the radio working, one is if you don’t bother with interfacing the buttons, keep the original GID/TID screen and relocate it.

      Reply
      1. FB

        maybe a raspberry pi module for the antena, just a sugestion,

        How will you connect the sound to the car speakers?

        Reply
        1. Dimitar Post author

          Yes, there is an FM/AM module for RPi you can use it, I have seen it as well.
          I’m still using the original mainboard from the radio, and I have made a modification so I can play music from auxiliary source (known as AUX) by tapping directly in the power-amp IC inputs. Some soldering was needed directly on the mainboard.
          From the RPi to the IC I’m using a cheap 2$ USB soundcard you can find on eBay easily and a ground loop isolator between to stop any hissing or noise.

          To make a modification on your radio for AUX there are many tutorials online for CD30 and CD30MP3 but I think the latter has it by default.

          Reply
          1. Dimitar Post author

            Sorry, I do not have any pictures at the moment, the project is not yet completed. I plan to continue the CarPC project this fall, probably late September, so I will post updates on this blog. Thank you for your interest, I really appreciate it!

Leave a Reply

Your email address will not be published. Required fields are marked *